

Presenting the first project I did on my 3D printer! I have a bunch of pins that I have collected throughout my life, but I never put them on my clothes out of fear that I would lose them. I wanted some way to display them, so I designed a stand. A cat shape was incorporated simply because I thought it was cute!
The Brainstorm
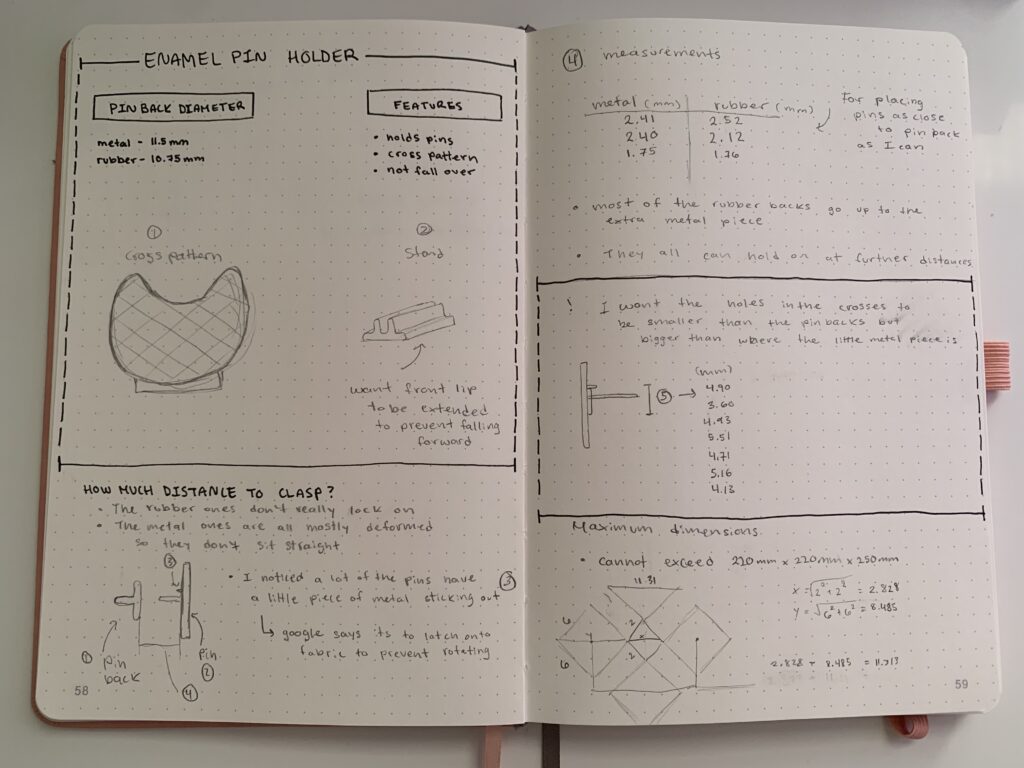
The main features that I wanted the design to accomplish was:
- Enamel pins can latch on
- Enamel pins cannot fall off
- Overall cannot fall over
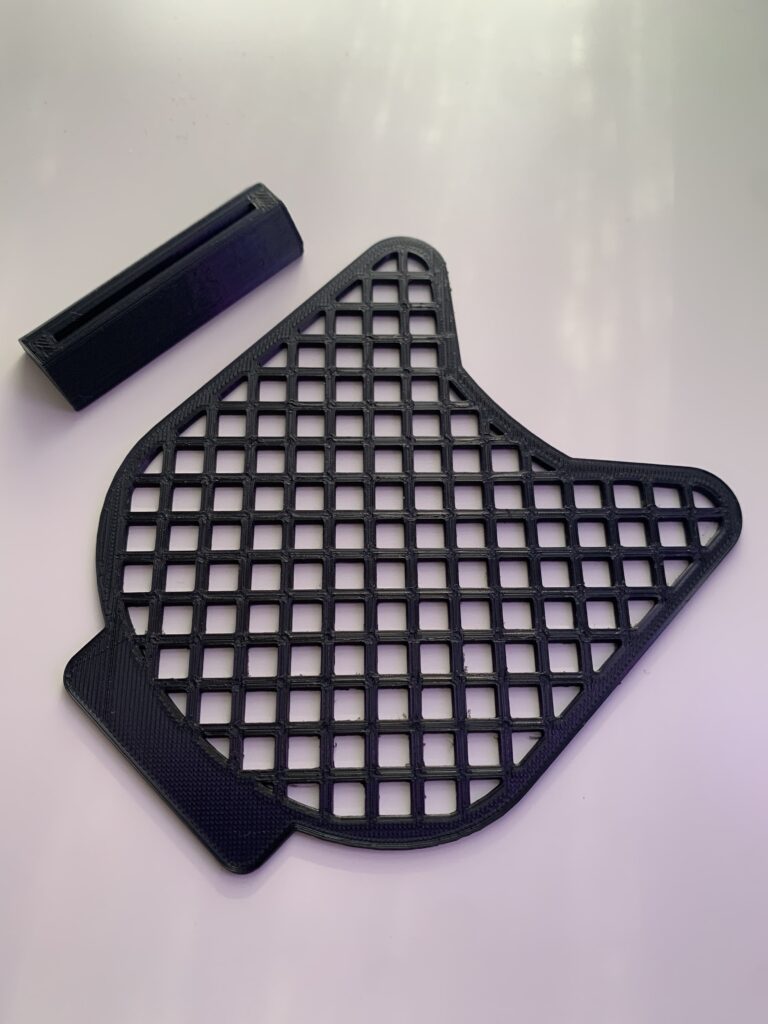
I decided on a cross pattern to hold the enamel pins. After examining the pins I took various measurements so I could determine dimensions of the design.
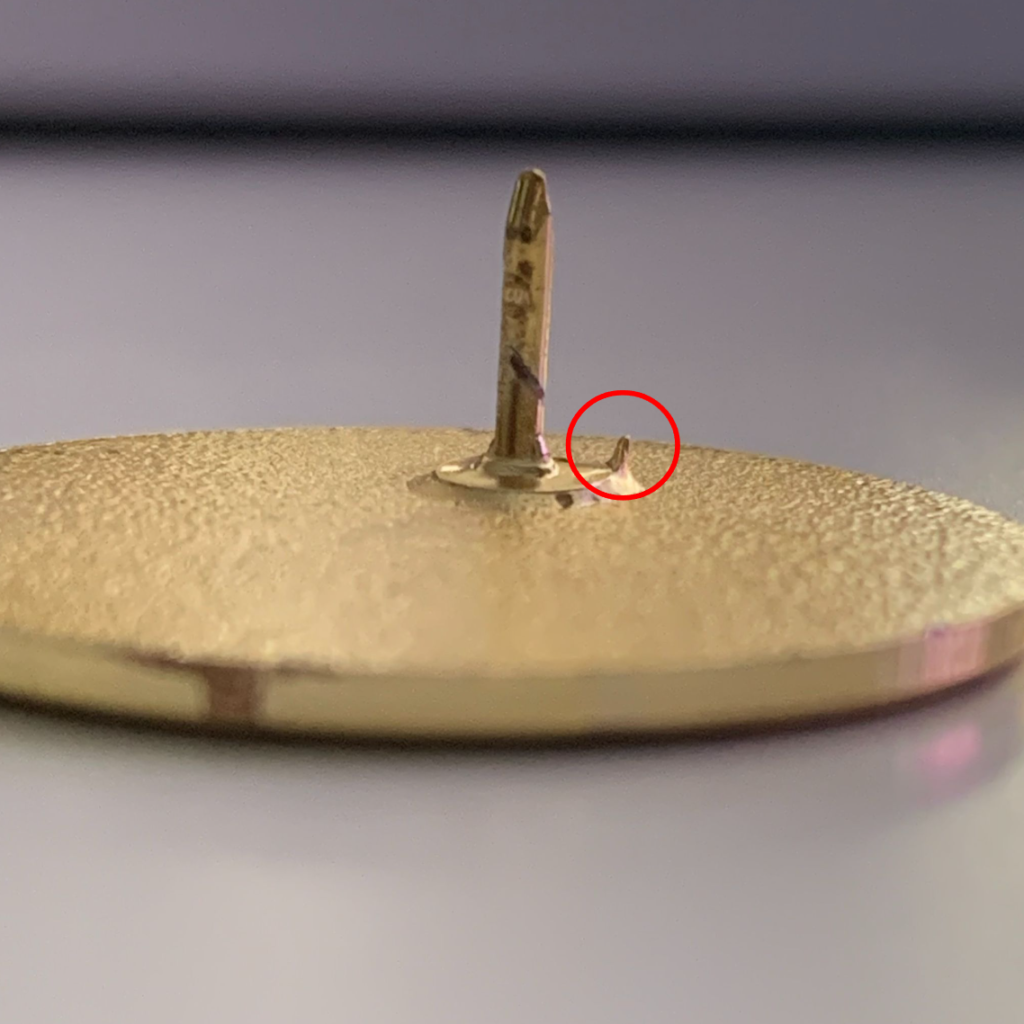
Something that I’ve noticed about the pins is that some of them have a little piece of material sticking out a couple of millimeters away from the enamel pin post. I decided that this feature of the enamel pin should be able to sit inside the square holes. Which allows the enamel pins to sit flatly against the display.
Doing a little Test
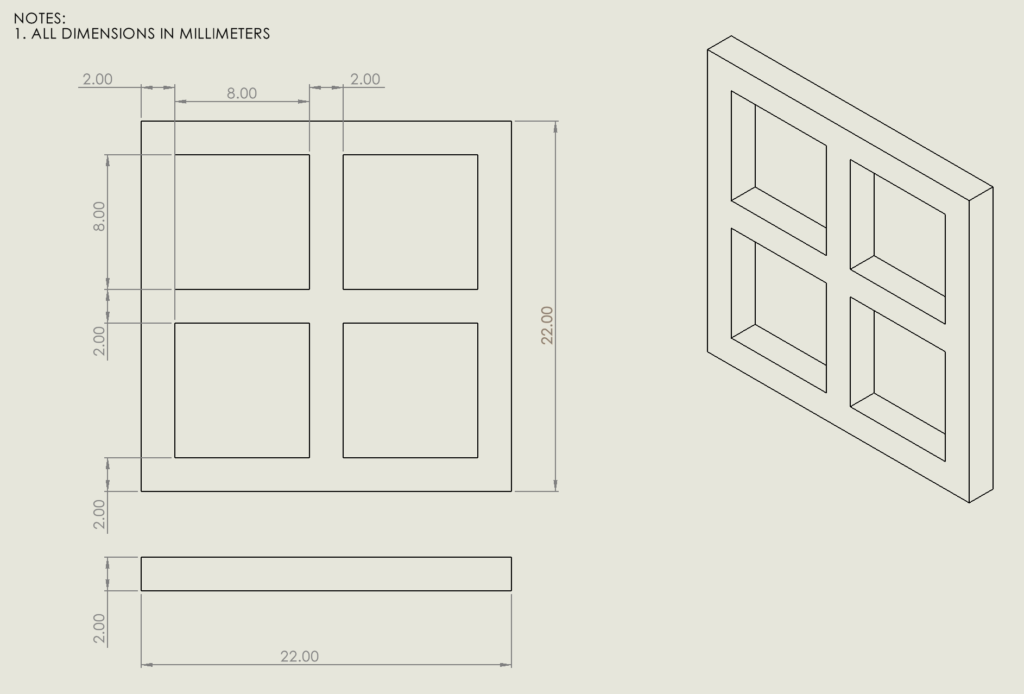
Before going in to start a large print, I designed and printed a test of the cross pattern. This is good for a couple of reasons:
- See how well the pins fit
- Understand the printer precision
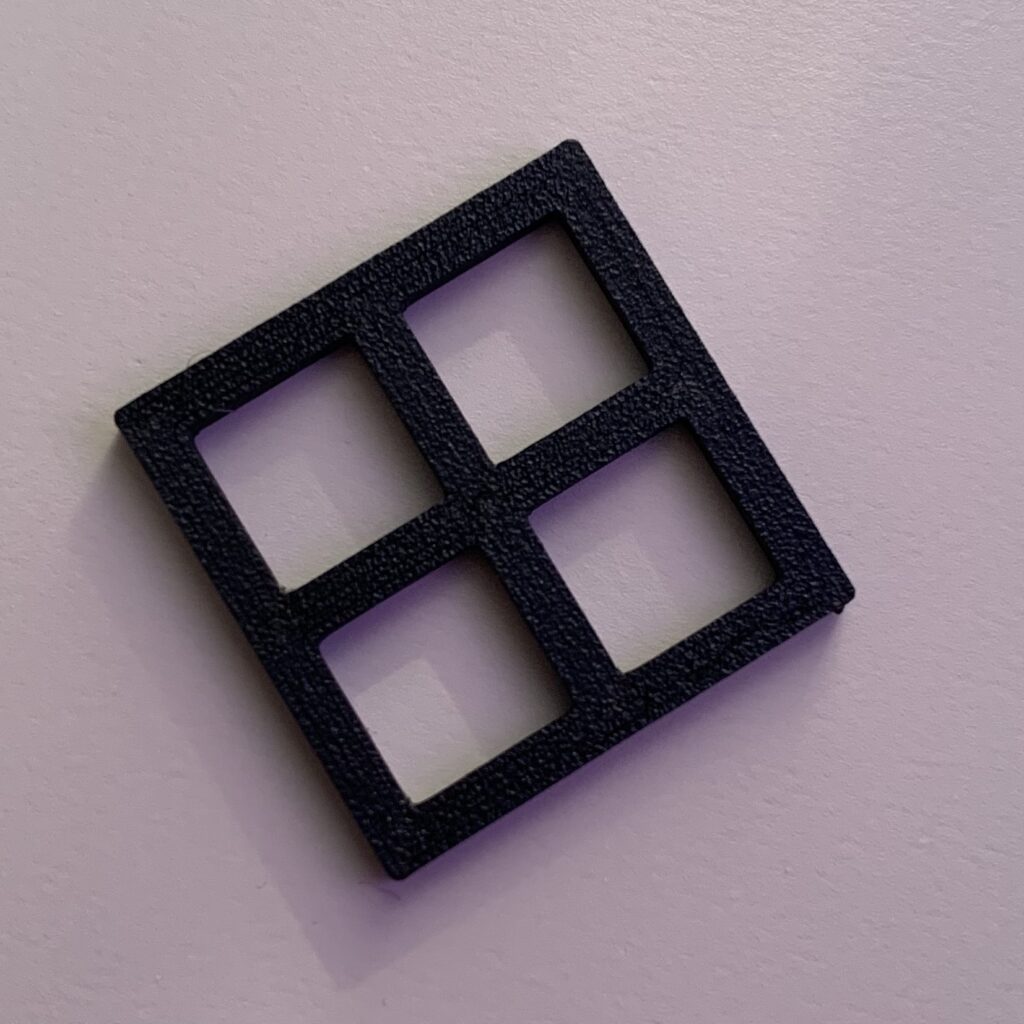
The pins fit slightly loosely in the square slots, so I decided the reduce the size of the I also realized that the print precision is varying in different axes. In the z direction, the print was smaller in size by 0.05mm. While in the x and y directions, it was greater in size by 0.05mm.
CAD
I used SolidWorks to create the models, since I am very familiar with using it. I designed it in two parts. First, I extruded the general shape and then used the pattern tool to cut squares for the net pattern.
The first attempt was a flop
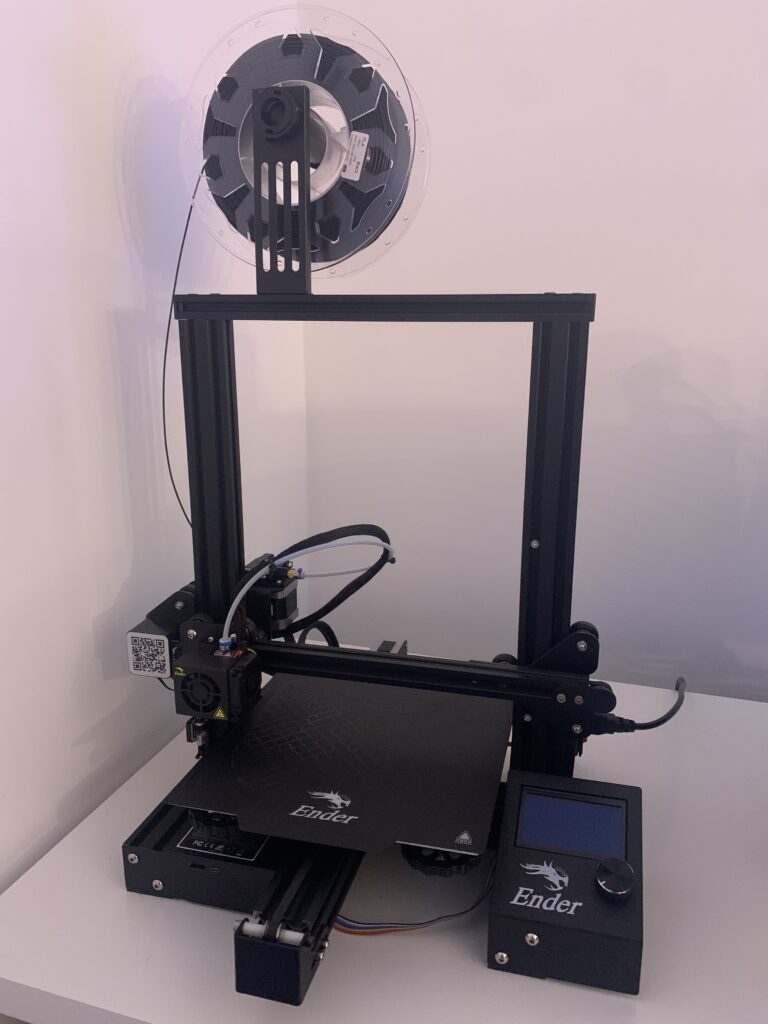
The first version of the cross plate was designed to take up the majority of the print bed of the Ender-3 Pro. Printing this first version was a disaster. I realized that the bed leveling was worse towards the edges of the bed. I noticed fairly late that the printhead wiring was moving around and turning the back left bed leveling gear. It raised the bed only in the back left corner, and thus pressed onto the nozzle. Since the bed and the nozzle were pressed together so tightly in this one corner, no material was extruding. This chain reacted into the feeder grinding off material and then the filament eventually broke off. I had to abort the print, to relevel the bed and take out the broken filament in the feeder tube. This did cause some damage in my bed plate. The nozzle dug in too far in one small spot, and the edges of the plate are slightly warped in one corner. In the future I would like to invest in a glass bed. I have worked with them in the past and they are really good at keeping the entire bed nice and level.
2nd try!
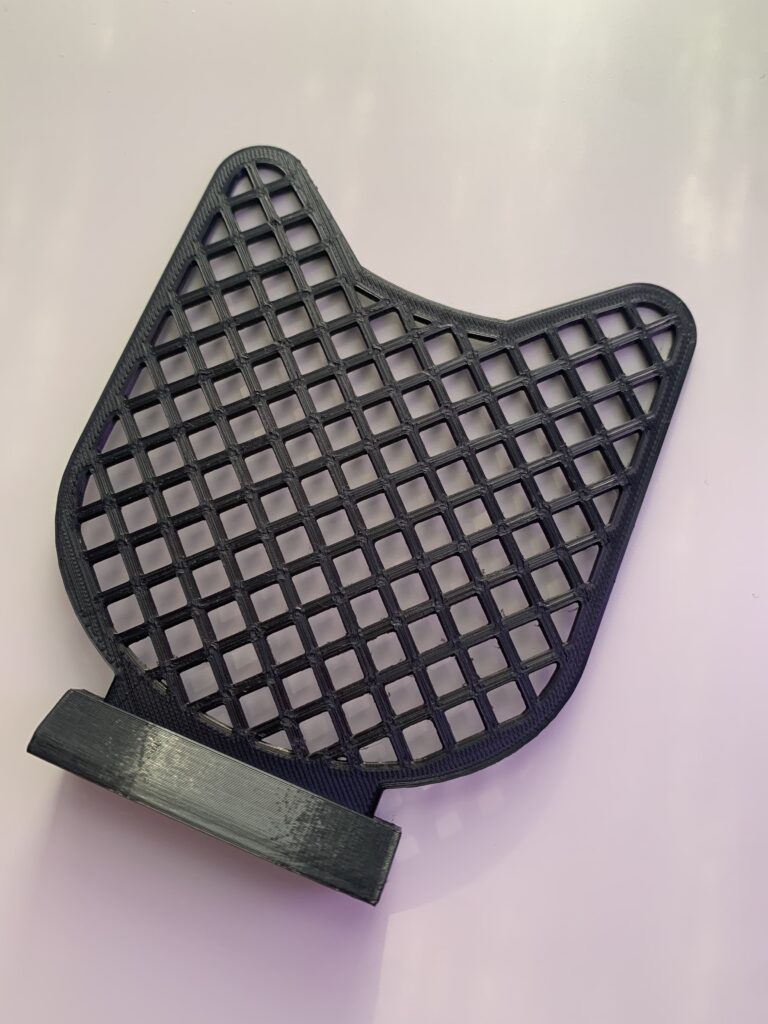
After making the overall size of the project smaller, I tried printing the cross plate again. It printed with no problems this time.
Assembly
I designed it so that the tab sticking out at the bottom of the cross plate sits inside the stand, to have a snug fit.
Takeaways
After working on this project, I realized that I need to pay more attention to the printer precision. The precision seemed to vary as I was printing, temperature may have to do with it. I think the stand could be less bulky, but I am happy with how it is!
Printer:
Files:
Project Details:
Cat Cross 2
| CAD Software | SolidWorks |
| Slicing Software | UltiMaker Cura 5.6.0 |
| Print Time | 2h 43m |
| Grams (g) | 13 |
| Material | PLA |
| Print Dimensions (mm*mm*mm) | 100*117.5*2 |
| Color | Black |
Stand 3
| CAD Software | SolidWorks |
| Slicing Software | UltiMaker Cura 5.6.0 |
| Print Time | 48m |
| Grams (g) | 6 |
| Material | PLA |
| Print Dimensions (mm*mm*mm) | 20*60.5*11 |
| Color | Black |
Leave a Reply