
For the month of March I decided to try to create a model in Blender everyday. I decided to do this because I wanted to improve my 3D modeling skills outside of CAD. After completing the challenge, I am amazed by how much I have improved over the course of the month.
My Results
Day 1 – Low Poly Apple – 32m
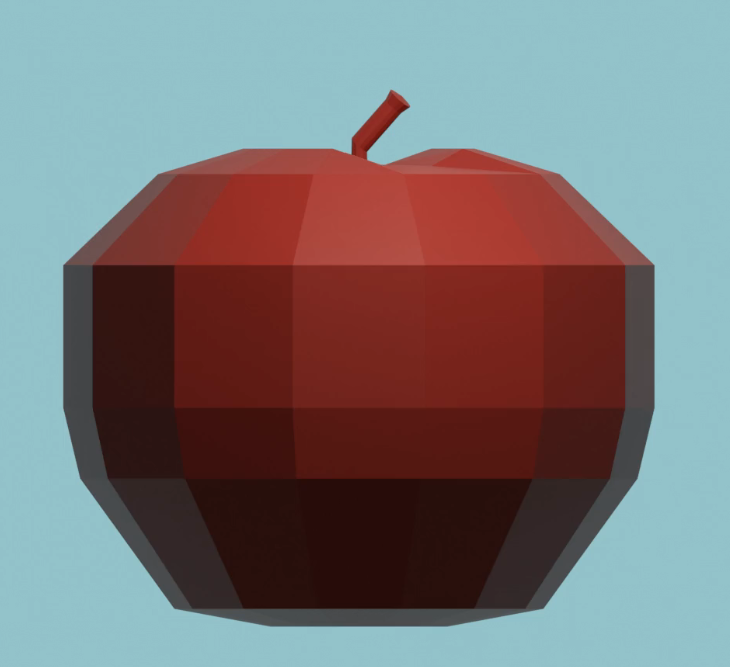
For the first day I decided to follow along a YouTube tutorial showing how create a low poly apple. It showed me how to apply a material to the mesh and how to color the apple red. The only thing I was unhappy about was that I had colored the stem red.
I found the process to be simple. Starting with a circle, I made short extrusions and resized the circles until I had an apple shape. To make the apple appear more imperfect, I took two vertices at the top of the apple and pulled them downwards.
Day 2 – Low Poly Banana – 1h 7m
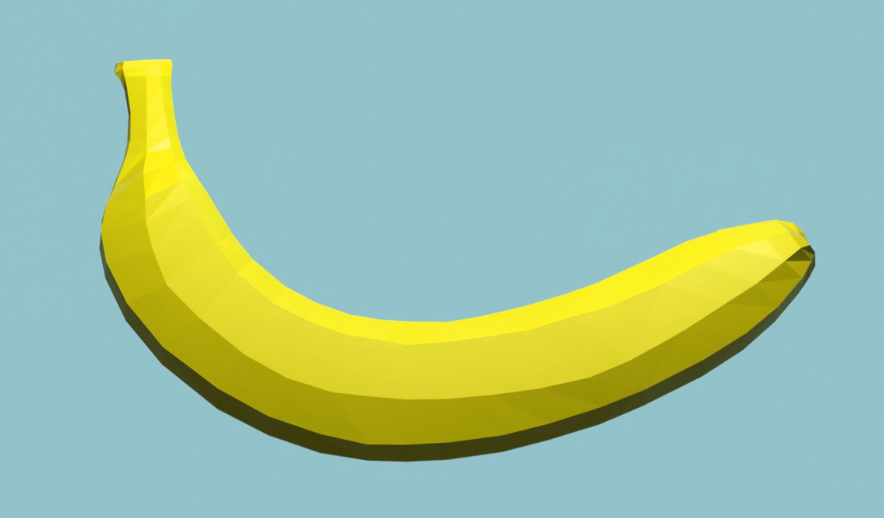
I had decided to model this banana differently from the apple. Instead of extruding circles along the length of the banana, I created lines of vertices and curved them along the banana. Through this method, I thought I would be able to place sharp creases accurately. However, it just took a long time
In hindsight, I think it would’ve been better to model it the same method as the apple.
Day 3 – Orange – 41m

For this model I wanted to practice applying a UV texture to a model. At the top of the orange you can see I hand drew a little stem.
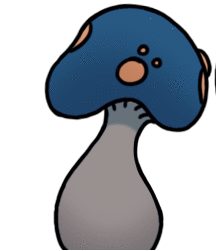
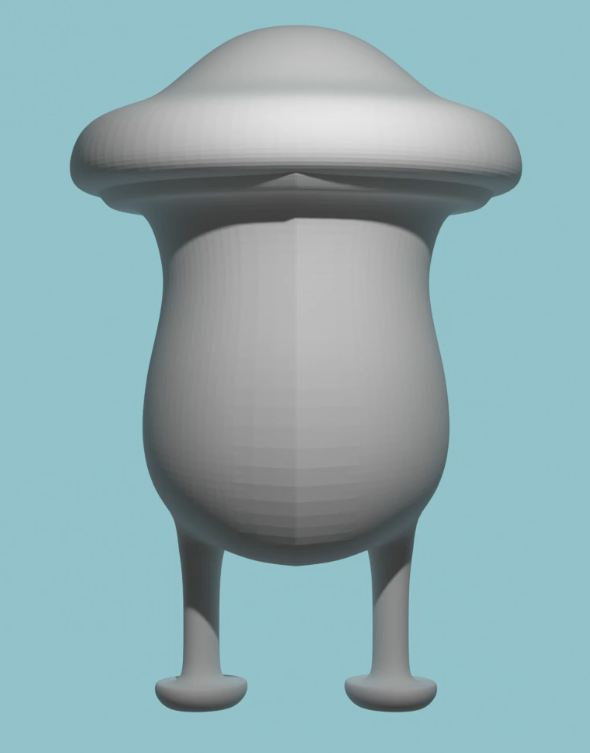
Day 4 – Hollow Knight Mr. Mushroom – 2h 41m

While explaining to my boyfriend that I was doing this challenge, I asked him if he had any ideas for models. He challenged me to create any character from the game Hollow Knight. After look at all the characters, I settled on this character named Mr. Mushroom. The character is comprised of simple shapes, and the only thing that I was unsure about was how I would go about creating the mouth and eyes. I wanted to extrude cut the eyes and mouth, but at the time I wasn’t sure how. Instead, added sphere-like shapes like how I had done for the bumps on the mushroom cap.
I converted this model into an STL, and made it my first upload on Thingiverse! I was surprised by how many downloads and likes it has been getting. Someone even wanted to send me a tip for posting it! You can view it on Thingiverse here.
Day 5 – Bookshelf -15m
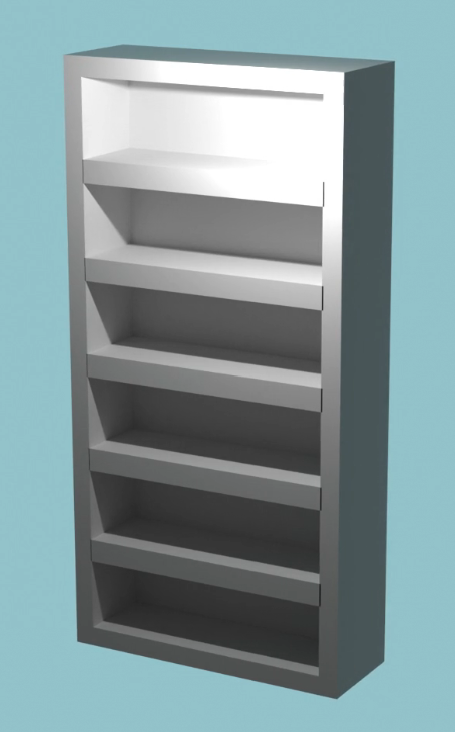
On this day, I wanted to learn how to use the array modifier. I decided to create a bookshelf, so I could use the array tool to create each shelf. It was really simple and easy to do. After doing this model, I wasn’t sure how to handle clipping objects.
Day 6 – Isometric Room – 1h 37m
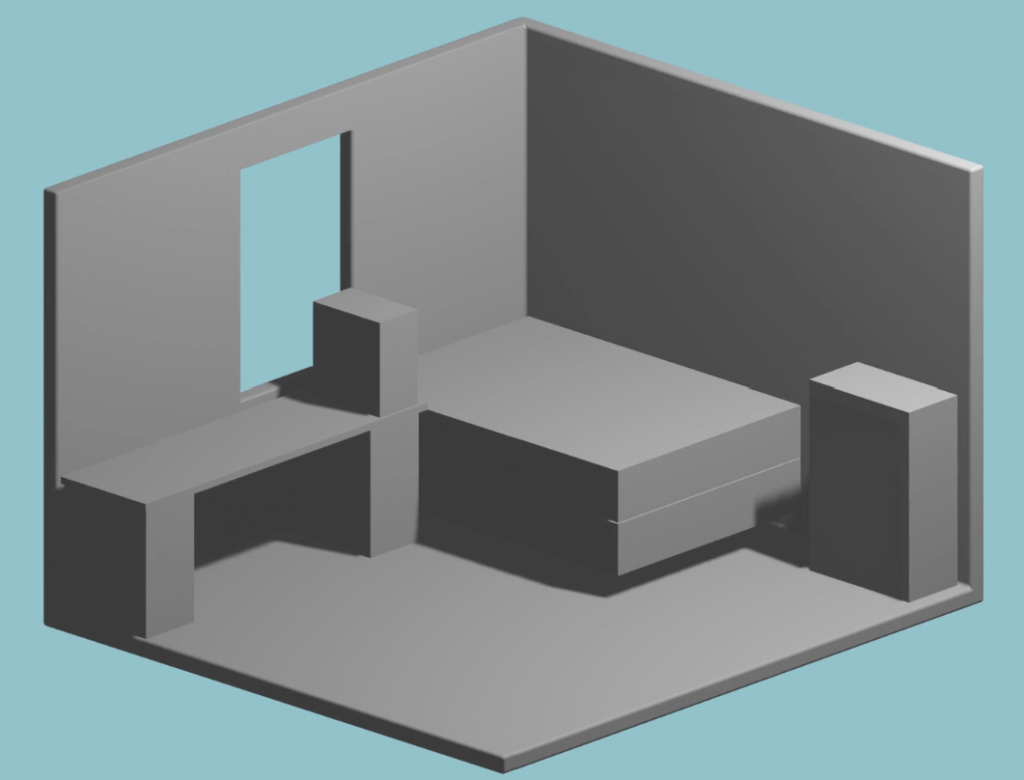
Leading up to this point, I had no idea what kind of units I was using. For this model I wanted to learn how to use dimensions, and so I thought recreating my own bedroom would be a good idea. I used a measuring tape to collect the overall dimensions of my room and various furniture. I had to enable an add-on called “MeasureIt” so I could see the dimensions of the parts I was creating. It allowed me to have a similar experience to the smart dimension tool in SolidWorks.
Originally I wanted the model to be very realistic looking with colors and textures, but I quickly realized that it would take me much more than a day to complete.
Day 7 – Garlic – 45m
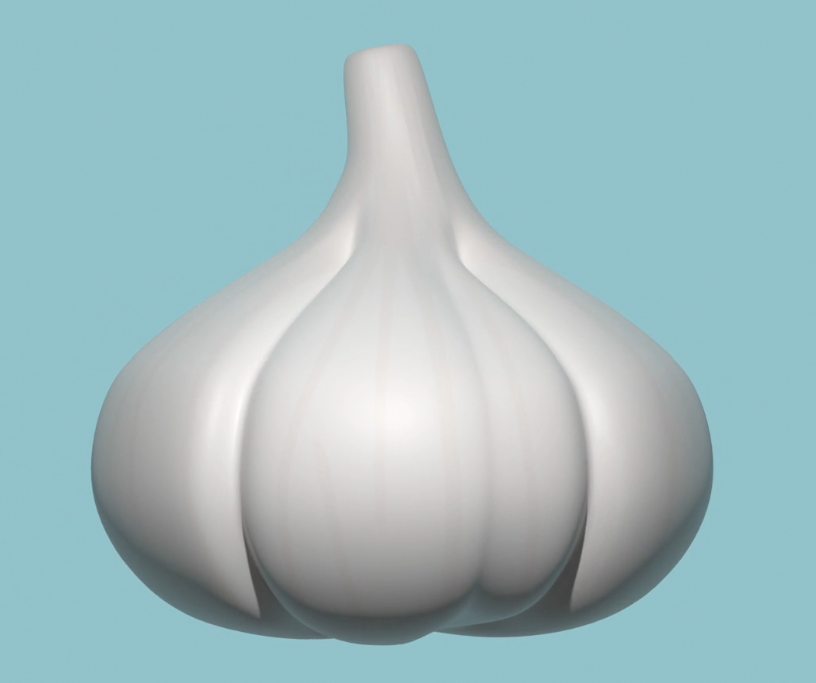
I created this garlic model very similarly to the apple model on day 1. I then selected lines going down the sides of the garlic and resized them to be smaller, creating indents for the cloves. I applied a UV texture to this model too.
Day 8 – Freestyle Body 1 – 45m
At this point I had used references for all of my 3D models, so I wanted to try freestyle and apply what I had learned so far from memory.
Day 9 – Watermelon (partner) – 16m
On this day, my boyfriend was visiting me for the weekend. I sat him down in front of my computer, and I tried to give him directions to create a simple watermelon shape. I thought this was a good challenge for me to recall all the short keys. It went well for the most part, I was not expecting him to start hitting random buttons and do his own thing in between my directions. I was trying to teach him how to use a modifier to mirror the object along the X axis, but we ended up with a weird seam down the middle of the object.
Day 9.5 – Watermelon (me) – 7m
Afterwards, I also created a watermelon to show my boyfriend what the model was supposed to look like. In hindsight, I should’ve showed him the process before letting him make one.
Day 10 – Freestyle Body 2 – 26m

For this particular model I wanted to do freestyle again. However, I was lacking inspiration and direction for this model. I’m not proud of this one, but I realized that I was bound to have an off day. I’m glad I finished it and managed to keep practicing my skills.
Day 11 – Frieren Staff – 1h 57m

For the 2024 winter anime season I was watching Frieren, and decided to create the main character’s (Frieren) staff. For this I wanted to learn how to apply an array but in a rotation, which was unexpectedly harder than it should have been.
Day 12 – Face – 3h 21m

For this model I wanted to create an anime style head. By this point I was very used to inserted a rounded cube and pushing and pulling vertices as I needed. The YouTube video I was following did not start with a rounded cube, and instead started out with a line of vertices. To build the face I had to carefully place vertices and stitch faces together manually. For the mouth you need to create a small slit, and I had to stitch together faces in that area frequently.
Looking back on this model, I think I stitched together the faces incorrectly. The lower mouth area looks like it has two layers of skin. I’m thinking that I have multiple faces stacked on top of each other around the mouth. Unfortunately I don’t think it would be worth the time to go in and fix the faces. I’d be better off starting from scratch next time and be mindful of the faces.
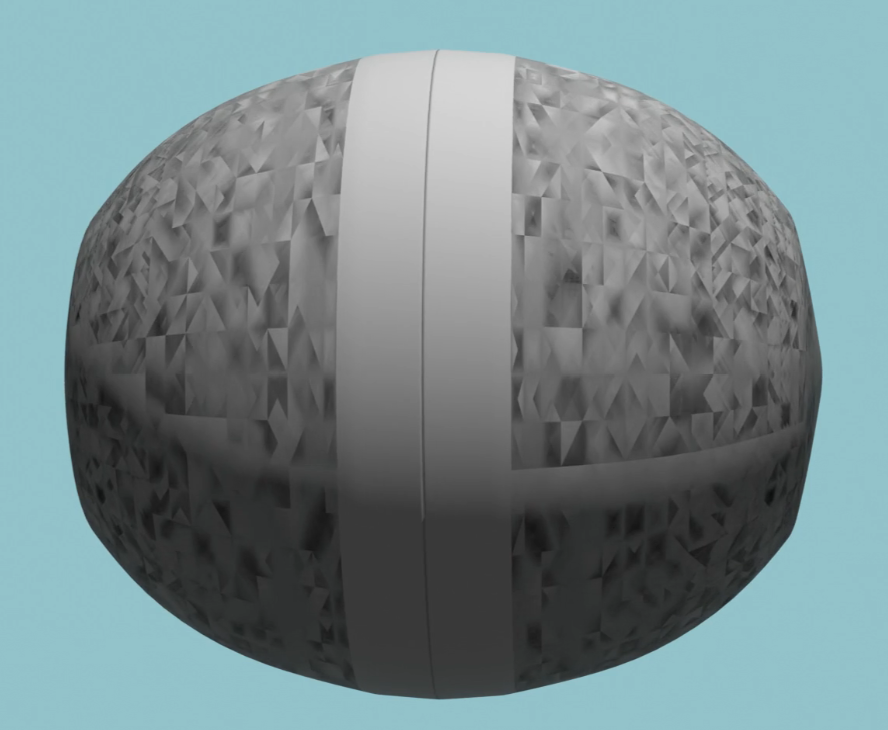
Day 13 – Gear – 18m
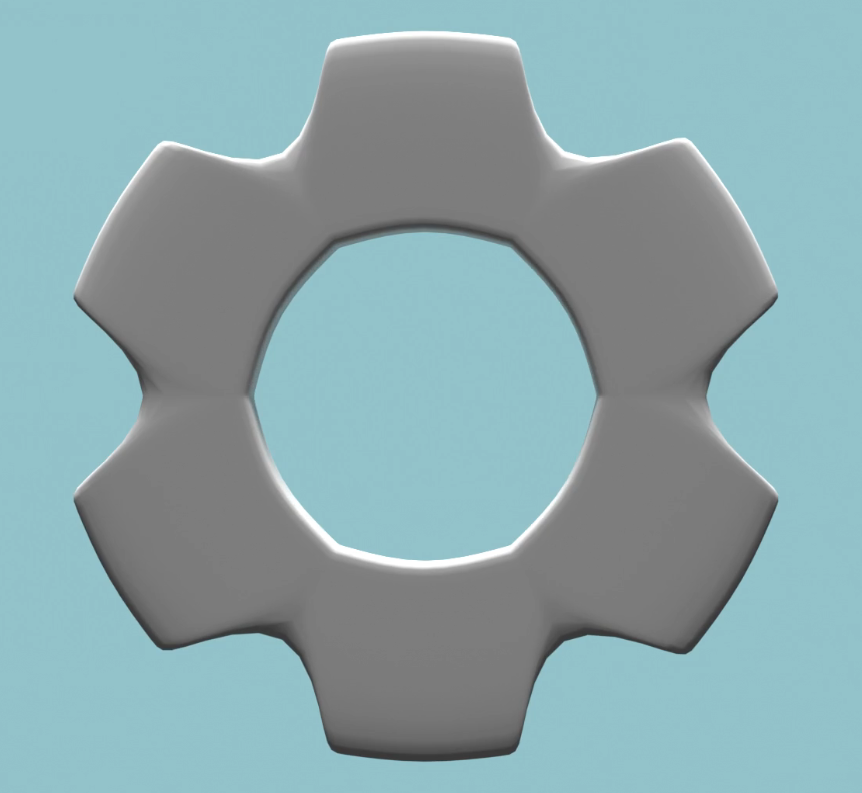
For this day, I was running out of creative steam. I decided to model something simple and ended up with a gear. I realize it’s not very accurate.
Day 14 – Pumpkin Pie – 23m

On pie day 3/14/2024, I followed a YouTube tutorial on how to model a pie. I learned a lot of new short keys and I how to color the mesh in different sections.
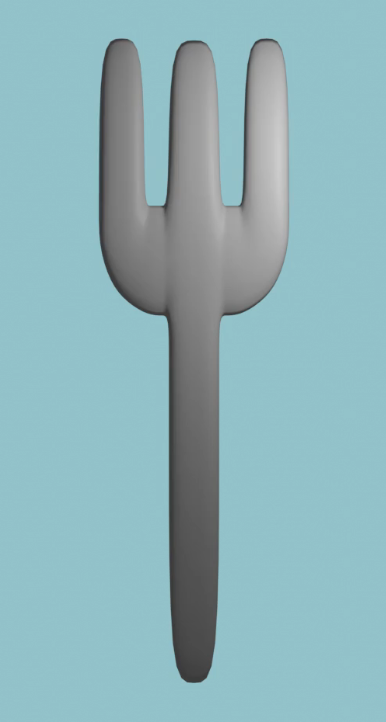
Day 15 – Fork – 20m
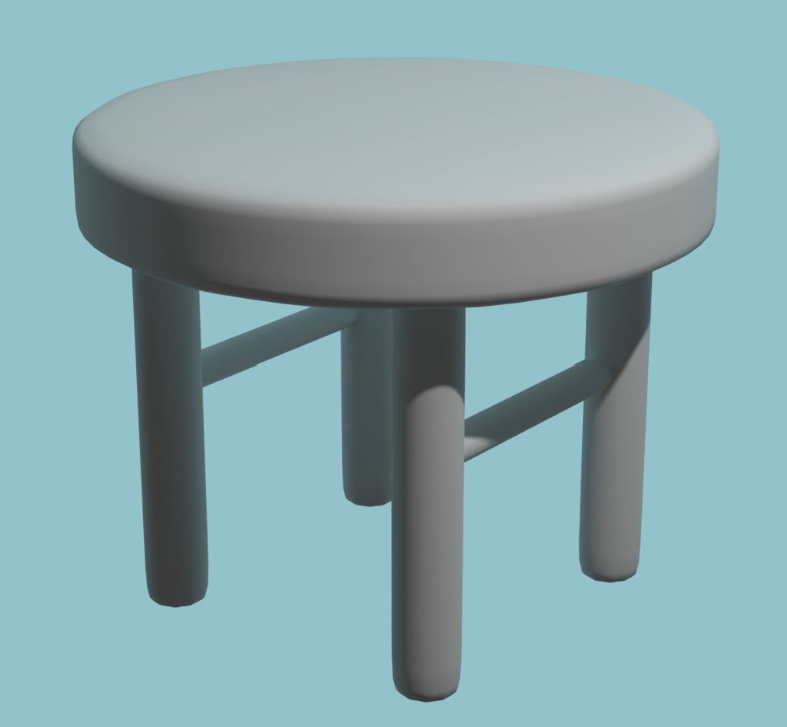
Day 16 – Stool – 12m
Day 17 – DB Logo – 48m
I wanted to model something that related to my personal Branding.
Day 18 – Glass Cup – 48m
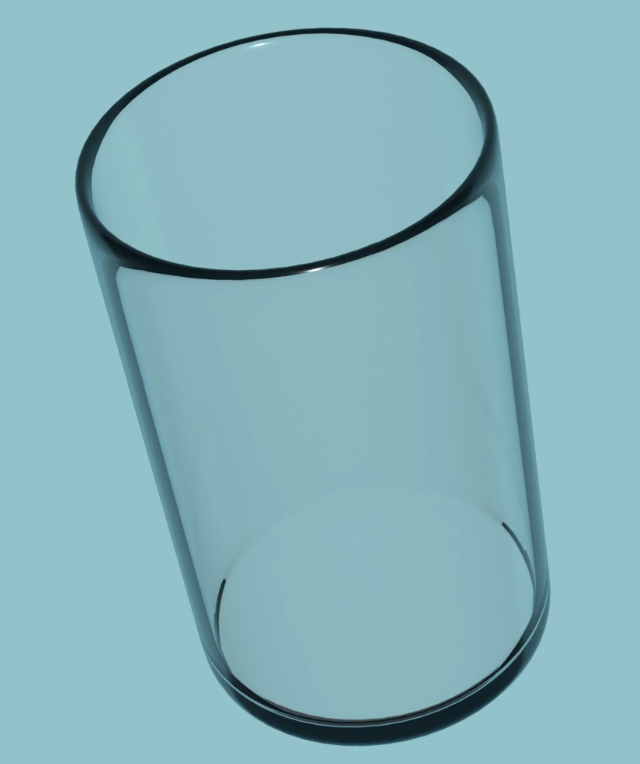
For this model, I decided I wanted to learn how to make the object look like glass. After following a YouTube tutorial, I was a little frustrated that my model didn’t appear see through like in the video. I learned later as I was creating a turntable animation and rendering each model that choosing another renderer portrayed the glass cup as I had wanted!
Day 19 – Plate – 35m

Day 20 – Kirby – Metamato – 52m

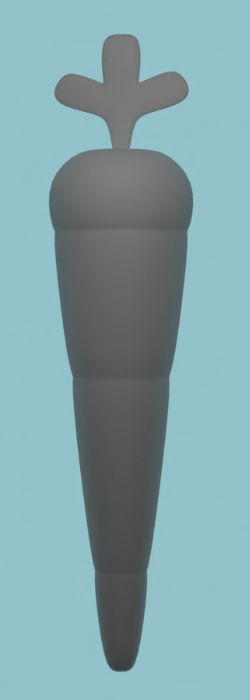
Day 21 – Carrot – 35m
Day 22 – Attack on Titan – Wings of Freedom Insignia – 1h 24m
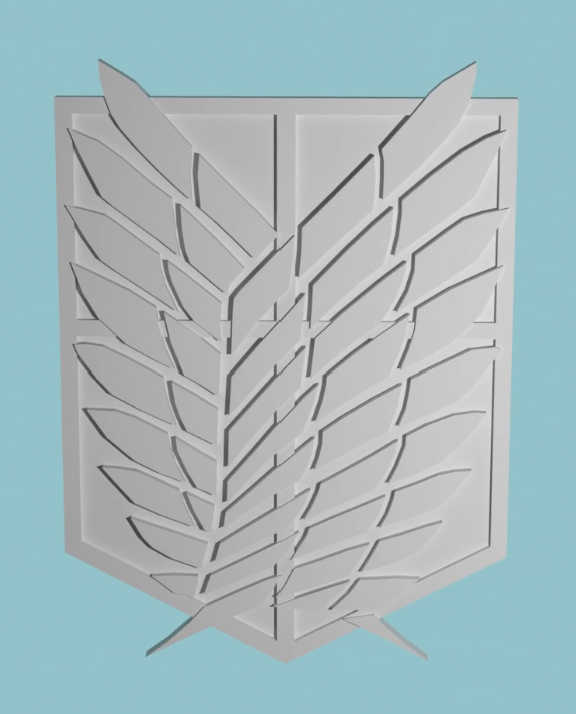
This model is an insignia from the anime Attack on Titan. It is my favorite anime, and I had decided to make this model after seeing a similar model on Thingiverse. I wanted to recreate their model simply to figure out how they did it.
Day 23 – KONOSUBA – Chomusuke Cat – 3h 17m
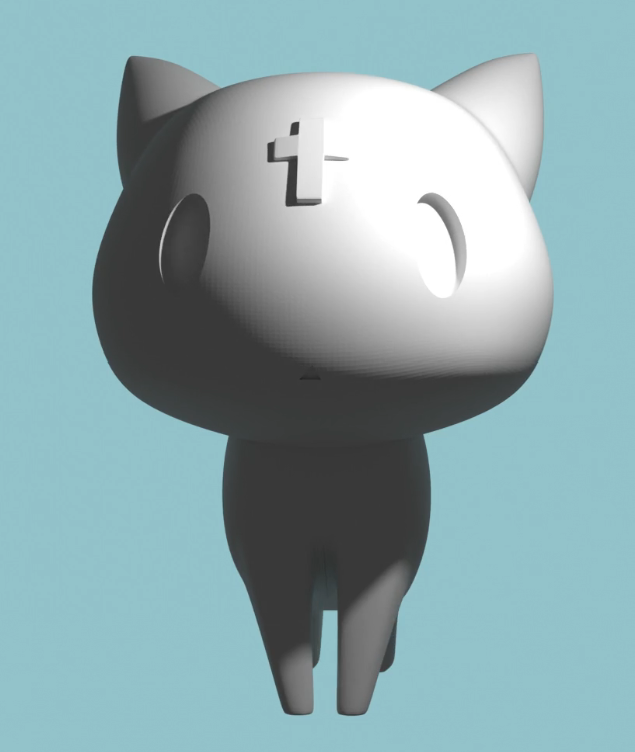
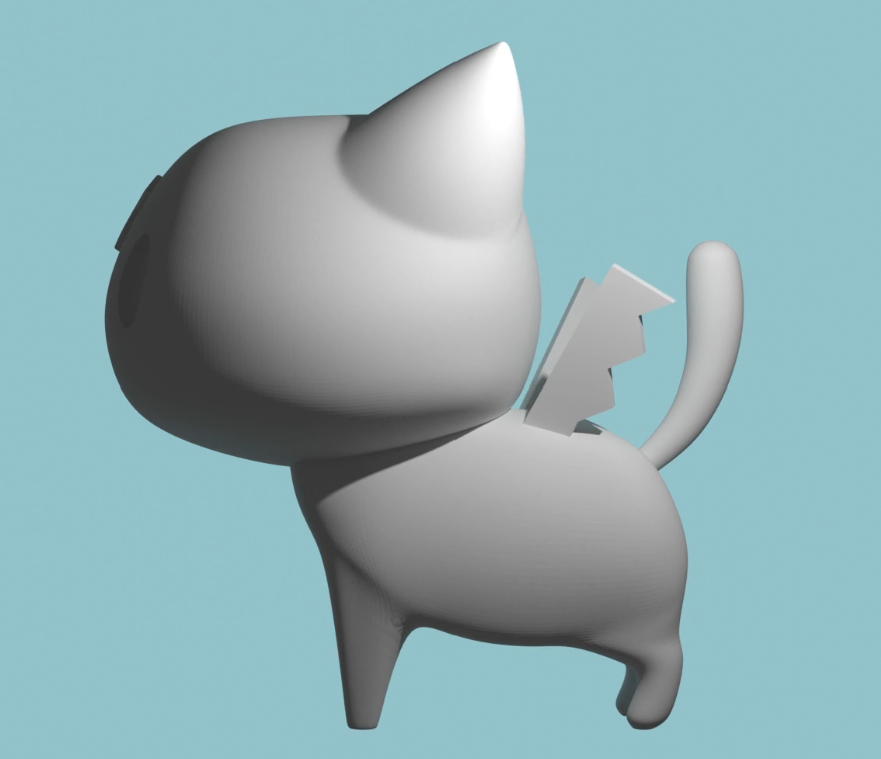
For the spring 2024 anime season I was looking forward to watching the third season of KONOSUBA. In great anticipation, I created this character from the show. It’s a little cat named Chomusuke with wings and a cross on it’s forehead. I had a lot of fun creating this and I learned how to use the Boolean modifier to cut extrude the eyes and mouth.
This was the second model I exported to STL and uploaded onto Thingiverse! In fact, I exported four different files.
- Cat with cross and wings
- Cat with wings
- Cat with Cross
- Base Cat
The Thingiverse page can be found here if you want to check it out!
Day 24 – Delicious in Dungeon Mushroom – 1h 23m

During the Winter 2024 anime season I was watching the anime Delicious in Dungeon with my dad. I wanted to model something from the show since I had really enjoyed watching it. I chose this mushroom from the first episode because I felt it was most feasible to complete in a single day.
At the time. I couldn’t figure out why there was a jarring seam down the center of the model. Upon reflection, I think there is a face along the seam inside the mushroom. I’ll have to go back and fix it sometime.
Day 25 – Black Clover Aqua Deer – 2h 9m
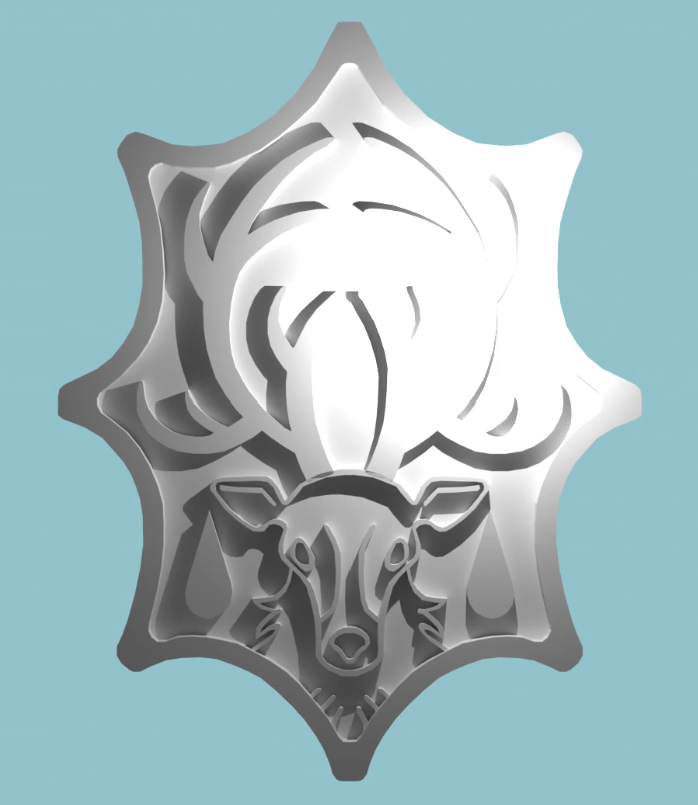
I had a lot of fun making the Attack on Titan insignia on day 22, and wanted to continue creating more insignias. I had chosen this insignia from the anime Black Clover in hopes of uploading it to Thingiverse. This insignia represents one of the squads in the kingdom.
I struggled a bit with the sizing of the model, for when I export it to STL later. I ended up making the model much bigger in size compared to the other models. After scaling up the model, the lighting was very weak in the render. I didn’t want to spend much time on it, so I simply increase the intensity of the light source. That’s why in the picture the model appears very bright.
Day 26 – Black Clover – Black Bulls Insignia – 1h 41m
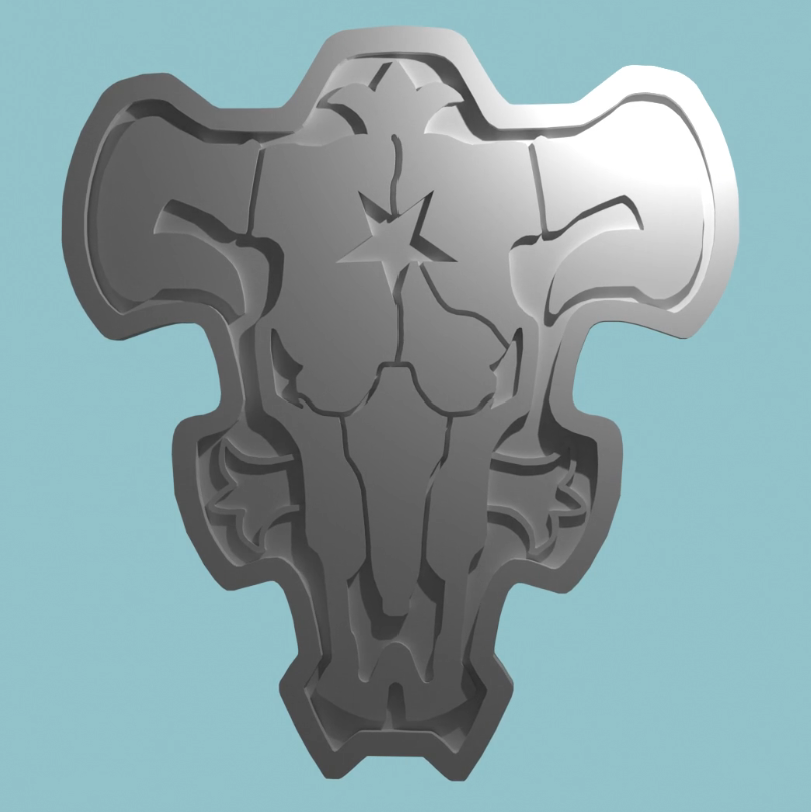
For day 26, I wanted to create another insignia from Black Clover. This is the insignia for the Black Bull’s squad. The main character is in this squad!
Day 27 – Head – 3h 51m


Day 28 – Cozy Grove – Charlotte Pine – 5h 45m


Day 29 – SpongeBob – Squidward’s Clarinet – 29m

For day 29, I was feeling pretty tired after working for so long on the previous day. I searched for something simple I could model, but related to my interests. In search of inspiration, I looked around my room and spotted my clarinet case, which has a SpongeBob sticker on it.
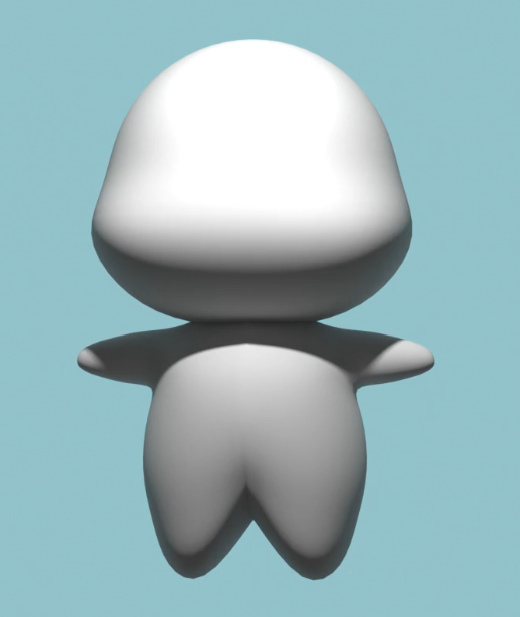
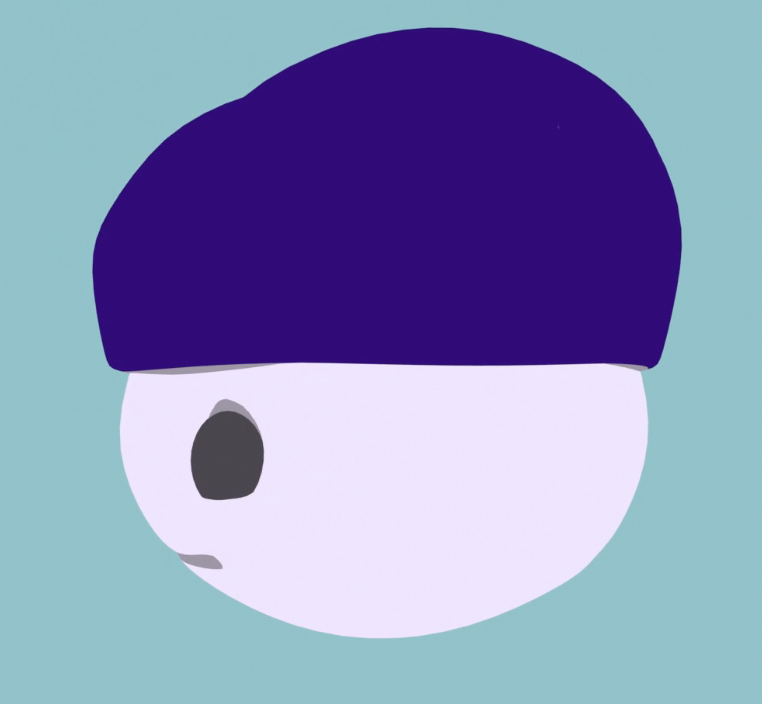
Day 30 – DB – 29m

For the final day, I decided to made a 3D version of the DB mascot. I was trying to replicate some videos I’ve watched on character creation. They would make the eye sockets sunken in, and then the eyes would sit at the entrance of the eye socket.
In the future I would like to try to rig the face, to turn it into a vtuber! I also need to fix the UV texture slightly, because as I write this I am noticing a faint line down the center of the hat.
Leave a Reply